Photography
Documenting my life and experiences through images.
I studied photography in High School with Frank Lopez and had the opportunity to use some techniques that are difficult to maintain. I continued my hobby of photography when traveling and would like to share my work here.
Pinhole
A pinhole camera has no lens and uses a pinhole aperture to project an inverted image onto the back of the camera. My teacher, Mr. Lopez, had a wooden pinhole camera that could take film, allowing for exposure of an entire roll of film instead of a single piece of photograph paper. While it is difficult to set up each shot and expose the film for multiple seconds each time, the camera provides an infinite depth of field.


Daguerreotype and Ambrotype
These two image styles are similar, however, one is done on tin and the other on glass.


Cyanotypes
Church Door
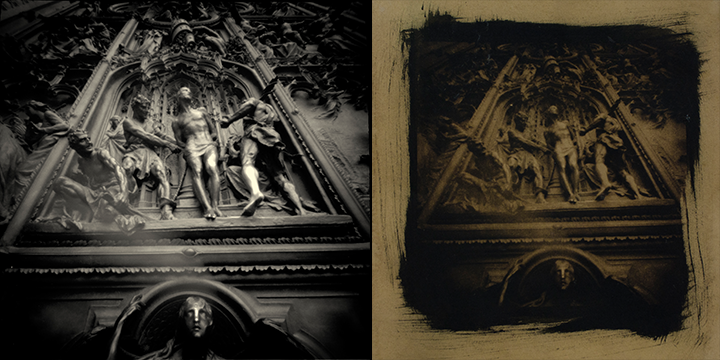
| # of Cyanotype Solution Drops | Substrate | Outdoor Conditions | Exposure Time | Toning | Tea Ratio | Time in Tea |
|---|---|---|---|---|---|---|
| 15 | Cranes White Paper | Cloudy | 40 minutes | Tea Bag | 2500 mL water/ 7 tea bags | 3 days |
I already liked this image when I chose to do a cyanotype of it. I thought it was a finished piece and was just experimenting with the process. The image was underexposed and looked awful in blue. When we learned about toning with tea, I immediately mixed two different combinations of tea and put an image in both. The staining brought in the underexposed areas and made the image seem like it was properly exposed. After learning this, I decided to do it again, but focused on my brush strokes. I went through the same process and ended up with the above image.
The cyanotype and tea toning made the image better. The tone that the tea gave the paper made me realize that a darker substrate might work better with the deep blue of a cyanotype like in image 2. Also, tea toning can help blend an image and its' background, like in image 4. I used a fairly simple process on this image, but I do not think I need to take it any further.
Overall, the process fits the image. The brush strokes extend the image and draw the eye into the subject. In the future, I would not leave it in the tea for such a long time, or take it out periodically to make sure no mold is growing. I also would expose the image properly the first time, so that there is detail in the high mid-tones and highlights instead of staining.
Lookout
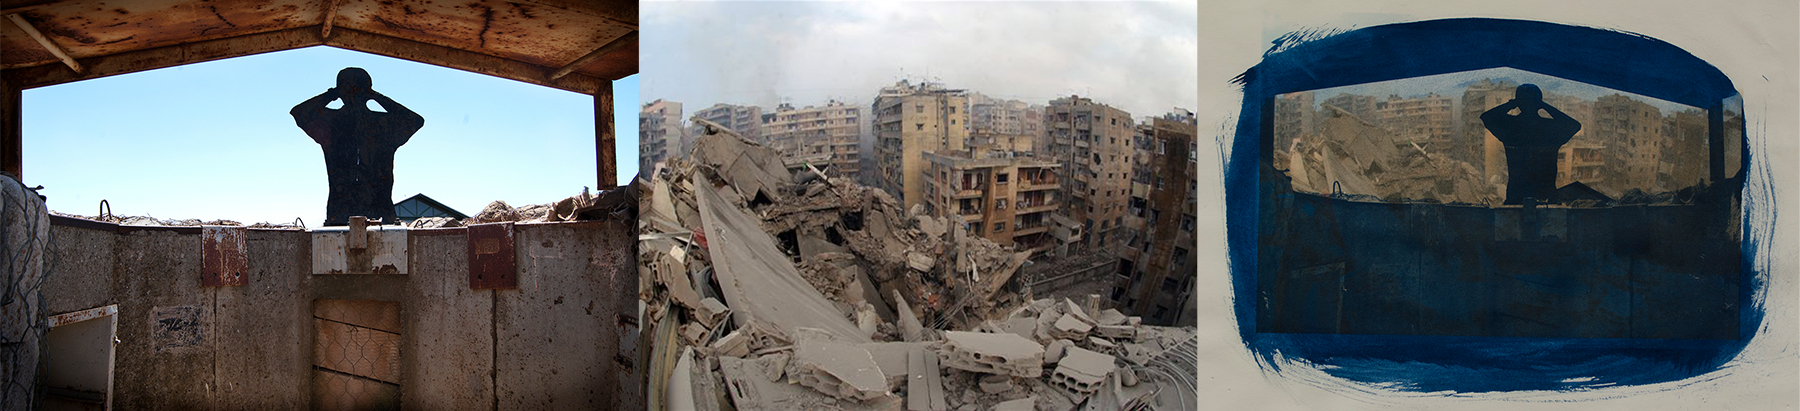
| # of Cyanotype Solution Drops | Substrate | Outdoor Conditions | Exposure Time |
|---|---|---|---|
| 12 | Cranes White Paper | Sunny | 10 minutes |
This image was also created on a simple white cranes paper. However, the original image had a lot of open space, so I decided to fill it in with another image. I did not have an image like the one I thought worked with the photograph, so I found one on Google. I printed it on the cranes paper, checking to make sure it was the right dimension, and then exposed the cyanotype on top of it. Unlike the first cyanotype I did, it was sunny outside, so the exposure only took 10 minutes. I tried to use brush strokes that framed the image, but I did not use enough cyanotype solution. The muted colors of the image in the background showed through, working with the deep blue of the cyanotype.
This is the only image that I did not tone, most likely because it had the color image in the background. The blue that cyanotype solution creates is also a beautiful blue that works well with figures like the one in this image, not so much with stills like the first image.
If I were to print this again, I would use more cyanotype solution and better brush strokes.
New Age Immigrant
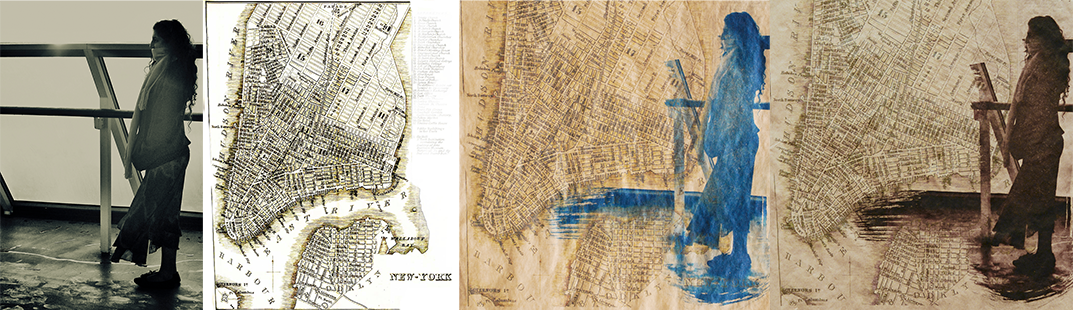
| # of Cyanotype Solution Drops | Substrate | Outdoor Conditions | Exposure Time | Toning | Tea Ratio | Time in Tea |
|---|---|---|---|---|---|---|
| 17 | Crafts Paper | Sunny | 12 minutes | Tea Bag | 2500 mL water/ 7 tea bags | 1 day |
This image took the longest to create. It started with a photograph of a silhouette of my sister on a cruise ship looking into the distance. I liked the scene, but not the photograph, so I edited it in Photoshop to see if I would like it more. I was still unhappy, so with all the experimentation I was doing in Chemistry of Photography, I thought I could do something interesting with the image. Her clothing made her look like an immigrant and the gleaming in her eyes reminded me of the idea of America as a melting pot. So, I started making a map to print the image on. I found an old map of New York City on Google and printed it on some crafts paper. I then expose four cyanotypes, trying to figure out when to cut off the image. I finally figured it out, using tissue paper to get rid of the railing going across her face and extending the brush strokes along the river.
The hardest choice during this process was whether to tone it or not, the blue tone separated the image from the map, which worked with the idea of a new immigrant. I took a bad copy of the image and toned it the same way as the first image, but for just one day. The brown town matched the map, and made the lines blend well; so, I decided to tone my final image as well.
This is my favorite image because of the thought and work I put into it. I had to think about the chemistry I was using and what affect it would have on my print. In the future, I would underexpose the image. It was so dark to begin with, that a lot of detail was lost when it was toned. If the original cyanotype was underexposed, the tea toned image would look just right.
Other Experimental Methods
Below are more experimental methods done in a dark room, a liquid light glass photogram and two examples of sabattier.


Landscape and Travel

Architecture


